Proxy
The AskUI Shell has built-in proxy autodetection. This is the recommended approach for handling proxy connections:Recommended: Proxy Autodetection (AskUI Shell)
The AskUI Shell will automatically detect and configure the proxy settings for you. In the background, the AskUI Shell:- Starts the local proxy
- Sets HTTP_PROXY environment variables
Alternative Options
If the automatic proxy detection doesn’t work for your setup, you can use these fallback options:Manual Proxy Configuration
Use the AskUI Shell command to manually set proxy settings:Start Local Proxy Manually
For advanced users who need full control over proxy configuration, you can start the local proxy manually. See the PxProxy documentation for detailed instructions.Deep Package Inspection
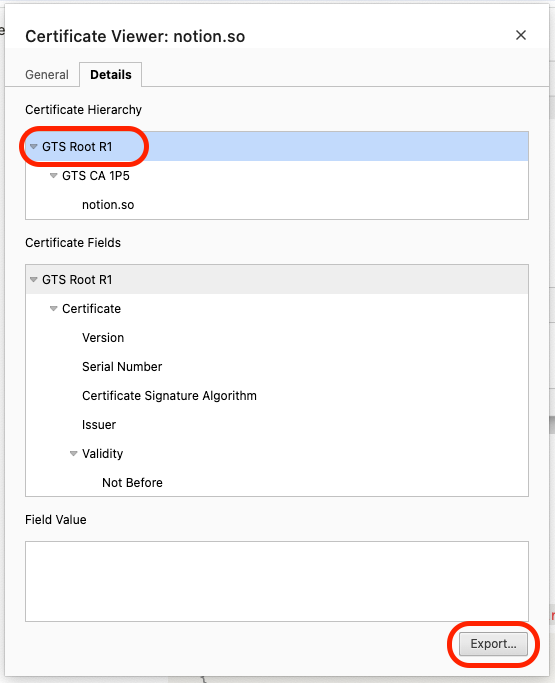
Company proxies, like Zscalar, use deep package inspection to analyze the network traffic. Such proxies are adding self-signed certificates to the HTTPS request to break up the TLS connection.- Python SDK
- TypeScript SDK
Problem: Python does not use the operating system’s certificate trust store by default. When an enterprise proxy injects a custom certificate for deep packet inspection, Python cannot verify it and rejects the connection.Example:Solution: Install the
pip-system-certs package, which configures Python to use the system certificate store: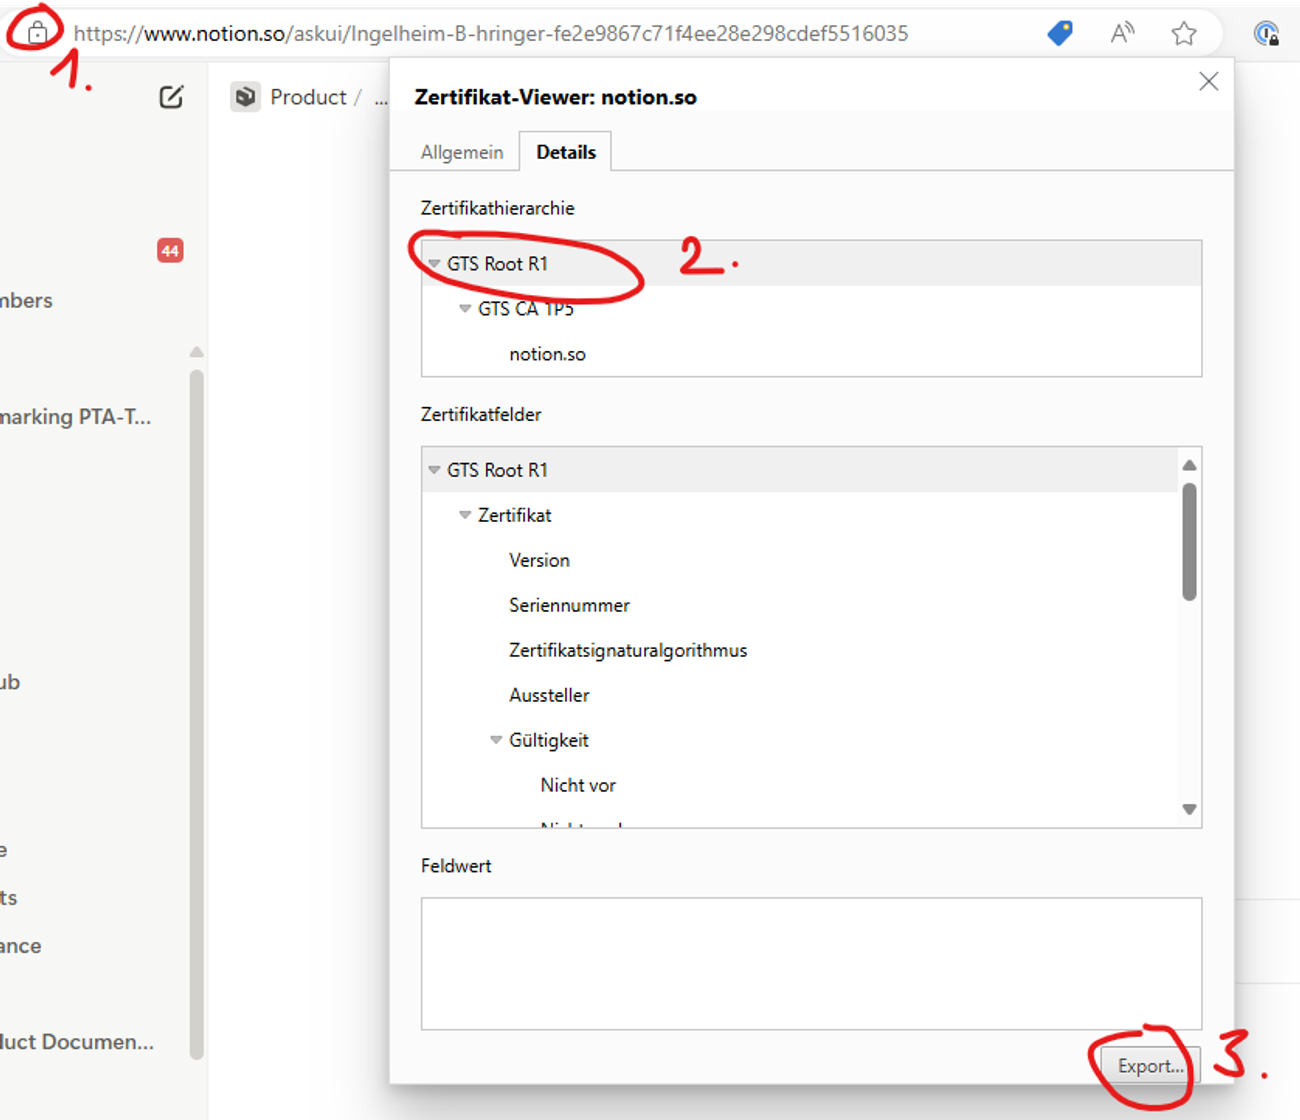
Firewall Configuration
If AskUI is blocked by your firewall, ensure the required domains are whitelisted. See the network requirements in our Installation guide for the complete list of domains that need to be accessible.Next Steps
- Still having issues? Report a bug
- Installation problems? See Installation and Setup
- Runtime errors? Check Runtime and Environment Errors